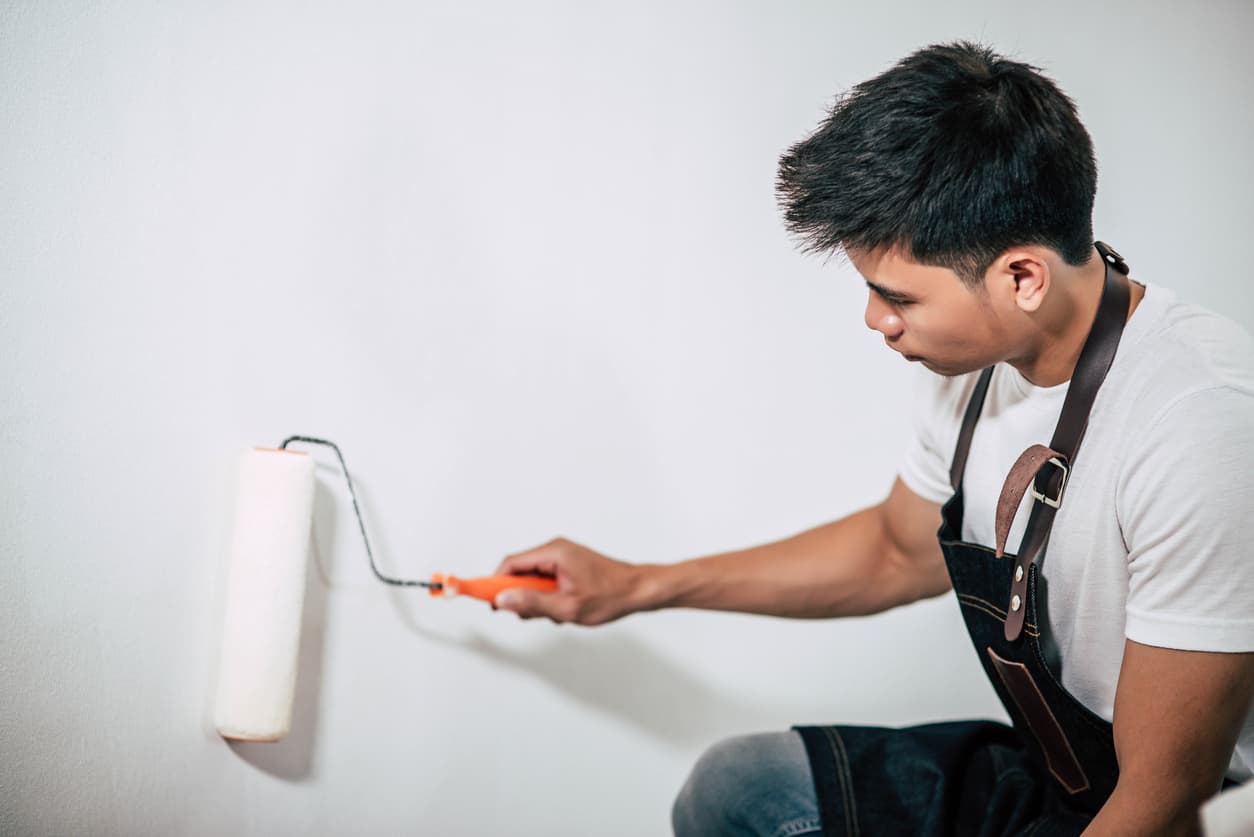
Starting an interior house painting project? Before you dip that brush in paint, there’s an essential step you shouldn’t skip: patching walls before painting. It’s the secret behind those flawless, magazine-worthy walls you admire. In this post, we’ll guide you through the process, ensuring your painting project starts on the right foot.
Your Guide to Patching Walls Before Painting

Why Patching Matters
Before we dive into the ‘how’, let’s talk about the ‘why.’ Patching walls before painting is important for several reasons. First, it creates a smooth surface, which is key for an even paint application. Second, it helps in covering up any imperfections, like nail holes or cracks, which can be eyesores. Lastly, a well-prepped wall can significantly increase the longevity of your paint job.
Tools and Materials You’ll Need
To start, you’ll need some basic tools and materials:
- Spackle or joint compound
- Putty knife
- Sandpaper (medium and fine grit)
- Tack cloth or damp rag
- Primer (optional, but recommended)
Step-by-Step Guide to Wall Patching
Step 1: Surface Preparation
Start by thoroughly cleaning the wall. Use a damp cloth to wipe away any dust, dirt, or grease. This step is vital for ensuring the patching material adheres properly to the wall. Pay special attention to corners and edges where dirt often accumulates.
A clean surface not only helps the spackle stick better but also prevents future peeling or cracking of the paint.
Step 2: Applying Spackle
For small holes or dents, take a small amount of spackle on your putty knife and apply it to the area. Gently press the spackle into the hole, ensuring it fills the space completely. Then, smoothly level the spackle with the wall surface.
For larger holes, you might need a wall patch kit. This involves placing a mesh over the hole before applying the spackle, ensuring a secure and smooth fix.
Step 3: Sanding
After the spackle has completely dried, which might take a few hours, start sanding the area. Begin with a medium-grit sandpaper to remove any excess spackle and create a level surface. Then, switch to fine-grit sandpaper for a smooth finish. Remember to sand gently in circular motions to avoid damaging the wall.
Step 4: Cleaning Up
Post-sanding, it’s important to clean the area again. Use a tack cloth or a slightly damp rag to wipe away all the sanding dust. This step is crucial for ensuring a clean, dust-free surface for painting. A clean surface not only improves paint adhesion but also gives a more professional finish.
Step 5: Priming (Optional)
Consider applying a primer if you’re dealing with significant color changes, stains, or dark patches. Primer helps in creating a uniform base for your new paint, improving the paint’s adhesion and longevity. It also reduces the number of paint coats needed, saving time and paint in the long run.
For best results, choose a primer suitable for your wall type and the paint you’ll be using.

Tips for a Perfect Patch
Matching Texture
If your wall has a unique texture, it’s important to replicate this on the patched area for a seamless look. Use tools like a sponge, brush, or even a crumpled cloth to mimic the existing texture. Gently dab or stroke the still-wet spackle to match the surrounding area.
This step might require some practice, so consider experimenting on a spare piece of drywall first. The goal is to blend the patched area with the rest of the wall so it becomes virtually indistinguishable.
Patience is Key
Allowing spackle or joint compound enough time to dry is crucial. Rushing through this stage can result in cracks or uneven surfaces, which will be noticeable after painting. The drying time can vary depending on the thickness of the application and the humidity levels in your space.
Check the manufacturer’s instructions for specific drying times. In the meantime, resist the temptation to touch or sand the area; patience will yield a smooth, professional finish.
Less is More
When applying spackle, remember that less is more. Start with a thin layer and allow it to dry before adding more if needed. Thinner layers not only dry more quickly but also minimize the risk of cracking or shrinkage. They’re easier to sand down and blend into the surrounding wall.
Applying spackle in this way helps maintain the integrity of the wall and ensures a smoother finish, making your painting job easier and more effective in the long run.
Conclusion
Remember, the quality of your painting job is only as good as the preparation you put into it. Patching walls before painting might seem like an extra step, but it makes a world of difference in achieving that professional, seamless look.
Transforming your space is more than just giving your walls a fresh coat of paint. It’s about crafting an environment that reflects your style and personality.
At Elite NJ Painting, we understand this deeply. With our expert team, state-of-the-art techniques, and commitment to perfection, we bring your vision to life with impeccable precision. Whether it’s a cozy corner of your home or a complete commercial revamp, we ensure every stroke of the brush adds value and beauty.
Ready for a change that speaks volumes? Reach out to Elite NJ Painting at 908-869-8799 for a free consultation.


