Interior painting can transform any room from mundane to magnificent. But it’s not just about picking a color and slapping it on the wall. To achieve that professional look, mastering certain painting techniques is crucial, especially for DIY enthusiasts.
In this post, we delve into key painting techniques that will elevate your painting game and help you create stunning interiors on your own.
Mastering Painting Techniques for a DIY Interior Makeover

The Right Brushes and Rollers
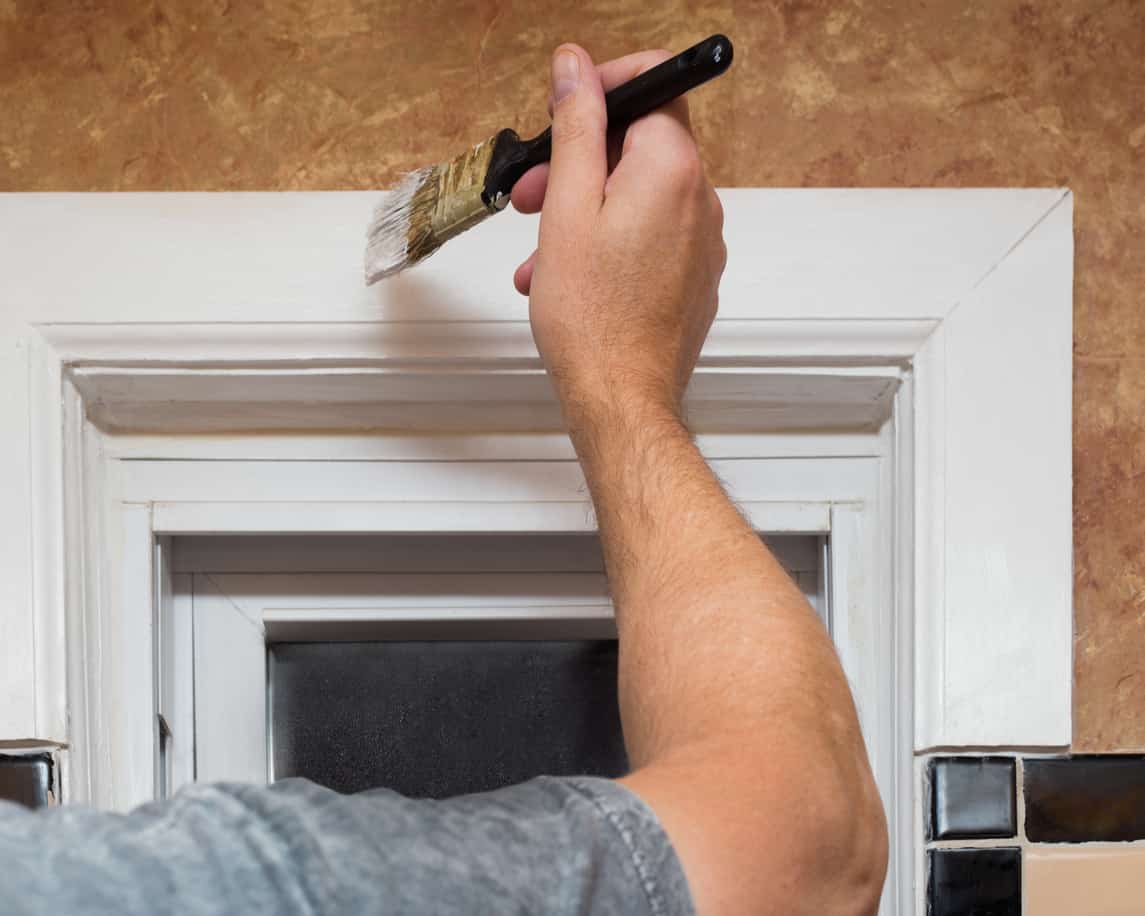
Know this: The right tools are half the battle won. Brushes and rollers vary greatly, and choosing correctly can make all the difference. For precision tasks, like painting edges or trim, a smaller angled brush is your go-to tool. Its design allows for meticulous work, ensuring sharp, clean lines.
On the other hand, rollers are your best friends for covering large, flat surfaces. They come in various sizes and nap lengths, tailored for different wall textures. A smooth surface calls for a roller with a short nap, while a rougher surface needs a longer nap to get paint into all the nooks and crannies.
Essential Prep Work
Before you dip that brush in paint, remember: good preparation is crucial. It’s not just about dabbing color on a wall; it’s about setting the stage for excellence.
Begin by thoroughly cleaning your walls. Dust, dirt, or grease can hinder paint adhesion, leading to uneven coverage and peeling.
Next, inspect for imperfections. Fill any cracks or holes with spackle, then sand them down for a smooth canvas.
And don’t overlook the importance of taping off areas. This includes baseboards, window frames, and door frames. Precision taping ensures sharp, clean lines, preventing paint from bleeding into areas you want to keep paint-free.
This preparatory phase might seem tedious, but it’s the foundation for a flawless finish. Taking these steps seriously means you’re halfway to achieving that stunning, professional look in your DIY painting project.
Mixing Paint Like a Pro
Achieving a uniform paint job starts with mixing your paint like a seasoned professional. Consistency in your paint is crucial for a flawless finish. Before you begin, thoroughly stir the paint to ensure even distribution of color pigments and ingredients. This step is vital to avoid any color disparities that can lead to streaks or blotches, which can mar the appearance of your walls.
Use a wooden stirrer or a drill attachment specifically designed for paint, moving in a circular and up-and-down motion to blend the paint completely. This thorough mixing process homogenizes the paint, ensuring the color you chose is the color that ends up consistently on your walls.
Remember, taking a few extra minutes for this step can significantly elevate the quality of your painting project, leaving you with smooth, professional-looking results.
Painting Techniques Every DIY Painter Should Know
Feathering for a Smooth Transition
Master the art of feathering for that perfect, smooth transition. This technique, where you gently lift the brush at the end of each stroke, is a game-changer. It’s particularly useful when blending multiple shades or aiming for a gradient effect.
The key is in the lightness of touch; by softly releasing the brush, you allow the colors to merge beautifully, eliminating harsh lines. This subtle movement creates a seamless transition, giving your work a professional, polished look.
The ‘W’ or ‘V’ Technique for Even Coverage
The ‘W’ or ‘V’ technique is a roller’s secret weapon for uniform coverage. Start by painting a ‘W’ or a ‘V’ shape on the wall, then fill in the gaps with parallel strokes. This method ensures the paint is spread evenly across the surface, preventing the common problem of having too much paint in some spots and not enough in others. It’s an efficient way to achieve a consistent, smooth finish, reducing the likelihood of uneven texture or visible roller marks.
If you need more guidance on the W technique or using a paint roller in general, here’s a helpful video from BEHR Paint:
Dabbing for Texture
Want a textured look? Dabbing is the answer. By using a sponge or stippling brush, you can dab paint onto the surface, creating a unique, tactile effect. This technique works wonders for adding visual interest or concealing blemishes. It’s perfect for those looking to introduce a bit of character and depth to their walls. You can experiment with different tools and pressures to create a variety of textured appearances, from subtle to dramatic.
Advanced Painting Techniques
Sponging for a Unique Effect
Sponging offers a creative twist to your painting project. By dabbing a lightly paint-soaked sponge onto your walls, you can create an intriguing, mottled texture. This technique adds depth and interest, ideal for those seeking a distinct look.
The beauty of sponging lies in its versatility; you can adjust the amount of paint and the pressure applied to achieve various effects, from subtle to dramatic. It’s a simple yet effective way to inject personality into your space.
If you want to see what sponging looks like and learn how to use the technique, here’s an instructional video from The Home Depot:
Creating Crisp Lines
Achieving crisp, clean lines in your painting project is easier than you think, and the secret is in using tape. Carefully apply tape along the edges where different colors meet or where precision is required. This acts as a barrier, ensuring sharp lines and preventing bleed-through.
For best results, remove the tape while the paint is still slightly wet; this prevents paint from lifting and ensures a perfect, crisp edge. Remember, patience and attention to detail in this step can significantly elevate the overall look of your project.
Dry Brushing for a Distressed Look
Dry brushing is a fantastic technique for achieving a rustic, distressed look. Use a brush with minimal paint and lightly drag it across the surface. This method subtly deposits color, highlighting textures and edges, perfect for creating a vintage charm.
The key is to use just enough paint to catch on the raised surfaces without fully coating them, allowing the underlying material to show through. This technique is especially effective for furniture and decorative pieces, adding a layer of depth and history to your items.

Finishing Touches for a Professional Look
The Importance of Second Coats
Don’t underestimate the power of a second coat of paint. While the first coat lays the groundwork, the second coat is what truly brings the color to life. It deepens the hue, ensuring uniformity and richness that can’t be achieved with just one layer.
But patience is key here – wait for the first coat to dry completely before you go in with the second. This not only prevents dragging but also ensures that the final finish is flawless and professional-looking.
Cleaning Up Like a Pro
After the painting is done, proper clean-up is essential. It’s not just about tidiness; it’s about preserving your tools for future use. Wash brushes and rollers thoroughly, removing all traces of paint.
For water-based paints, warm, soapy water works well, while mineral spirits are needed for oil-based paints.
Once clean, reshape brushes and store them hanging up or lying flat. This care extends their life, saving you time and money on future projects.
Final Inspection
The last step is a final inspection. Once the paint is completely dry, take a step back and scrutinize your work. Check for any uneven areas or spots that might have been missed. A little touch-up here and there can make a big difference.
This is also the time to peel off any painter’s tape, clean up your space, and admire your work. Seeing your beautifully painted room is not just satisfying; it’s a testament to your skill and effort.
Conclusion
Mastering these interior painting techniques will not only give your space a fresh, new look but also imbue it with a sense of accomplishment. Remember, the best results come from patience and practice. So, grab your brushes and let your creativity flow!
And for those times when you need a bit more expertise, or if your project is a bit too ambitious, Elite NJ Painting is here to help. With our team of skilled professionals, we bring your vision to life with ease and expertise.
For a free estimate, give us a call at 908-869-8799. Let’s make your space something truly special!


