
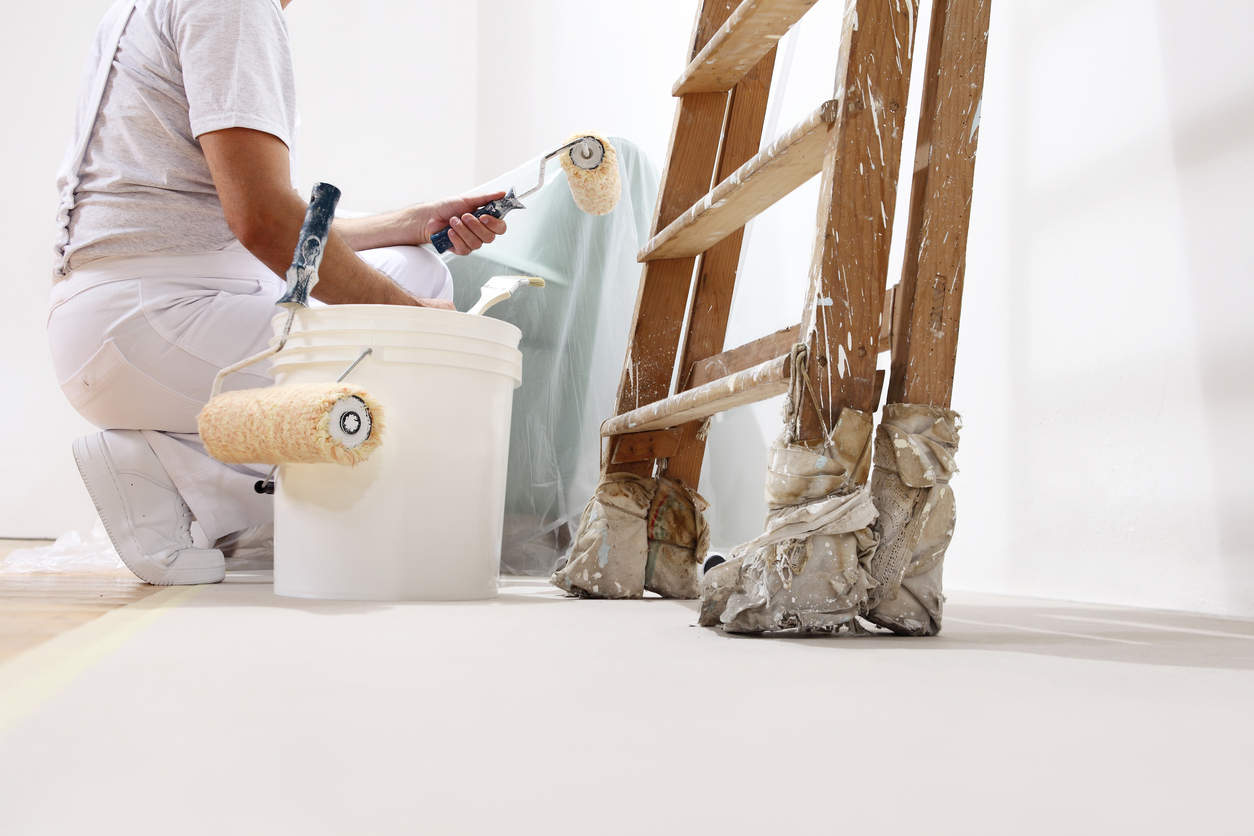
A fresh coat of paint should breathe new life into your space, but when it stays tacky for days—sometimes even weeks—it quickly turns into a frustrating mess. Sticky surfaces collect dust, show fingerprints, and worst of all, never seem to fully cure. If you’ve found yourself dealing with this nightmare after a DIY painting project, don’t worry—you’re not alone, and there are solutions.
This guide breaks down what causes tacky paint, how to fix it fast, and how to prevent it from happening again.
Why Does Paint Stay Tacky?
Before jumping to solutions, it’s crucial to understand what went wrong. Tacky or soft paint usually results from one (or more) of these common DIY mistakes:
1. Using the Wrong Type of Paint
Not all paints are created equal. Some are designed for walls, while others are made for high-use surfaces like cabinets, trim, and furniture.
Common paint issues:
- Latex paints – Dry fast but may stay soft if applied too thickly or in humid conditions. Some lack hardeners needed for durability.
- Oil-based paints – Take longer to dry but cure to a harder finish. If not given enough time, they stay sticky.
- Chalk paint – Requires a topcoat; otherwise, it remains soft and prone to marks.
- Cheap paint – Often loaded with fillers that slow down drying and leave a tacky feel.
2. Poor Surface Preparation
If paint isn’t sticking properly, the surface likely wasn’t prepped correctly. One common mistake is skipping sanding, especially on glossy or previously painted surfaces, which prevents proper adhesion. Another issue is painting over grease, oil, or dust without thoroughly cleaning first, leading to uneven coverage and poor durability.
Additionally, many DIYers forget to use a bonding primer before painting cabinets, furniture, or trim—an essential step for ensuring the paint grips the surface and dries smoothly. Proper preparation is key to achieving a long-lasting, professional-quality finish.
How to Prep Properly:
- Degrease with TSP (trisodium phosphate) or a strong cleaner before sanding.
- Sand lightly to create a surface the paint can grip onto.
- Use a high-adhesion primer like Zinsser BIN or Kilz Adhesion before painting over slick surfaces.
3. High Humidity & Poor Ventilation
Paint dries through evaporation. If the air is damp, it takes forever to dry.
How to fix it:
- Use a dehumidifier or air conditioner in humid conditions.
- Increase airflow with fans and open windows.
- Avoid painting in extreme weather—both too humid and too cold environments can ruin dry times.
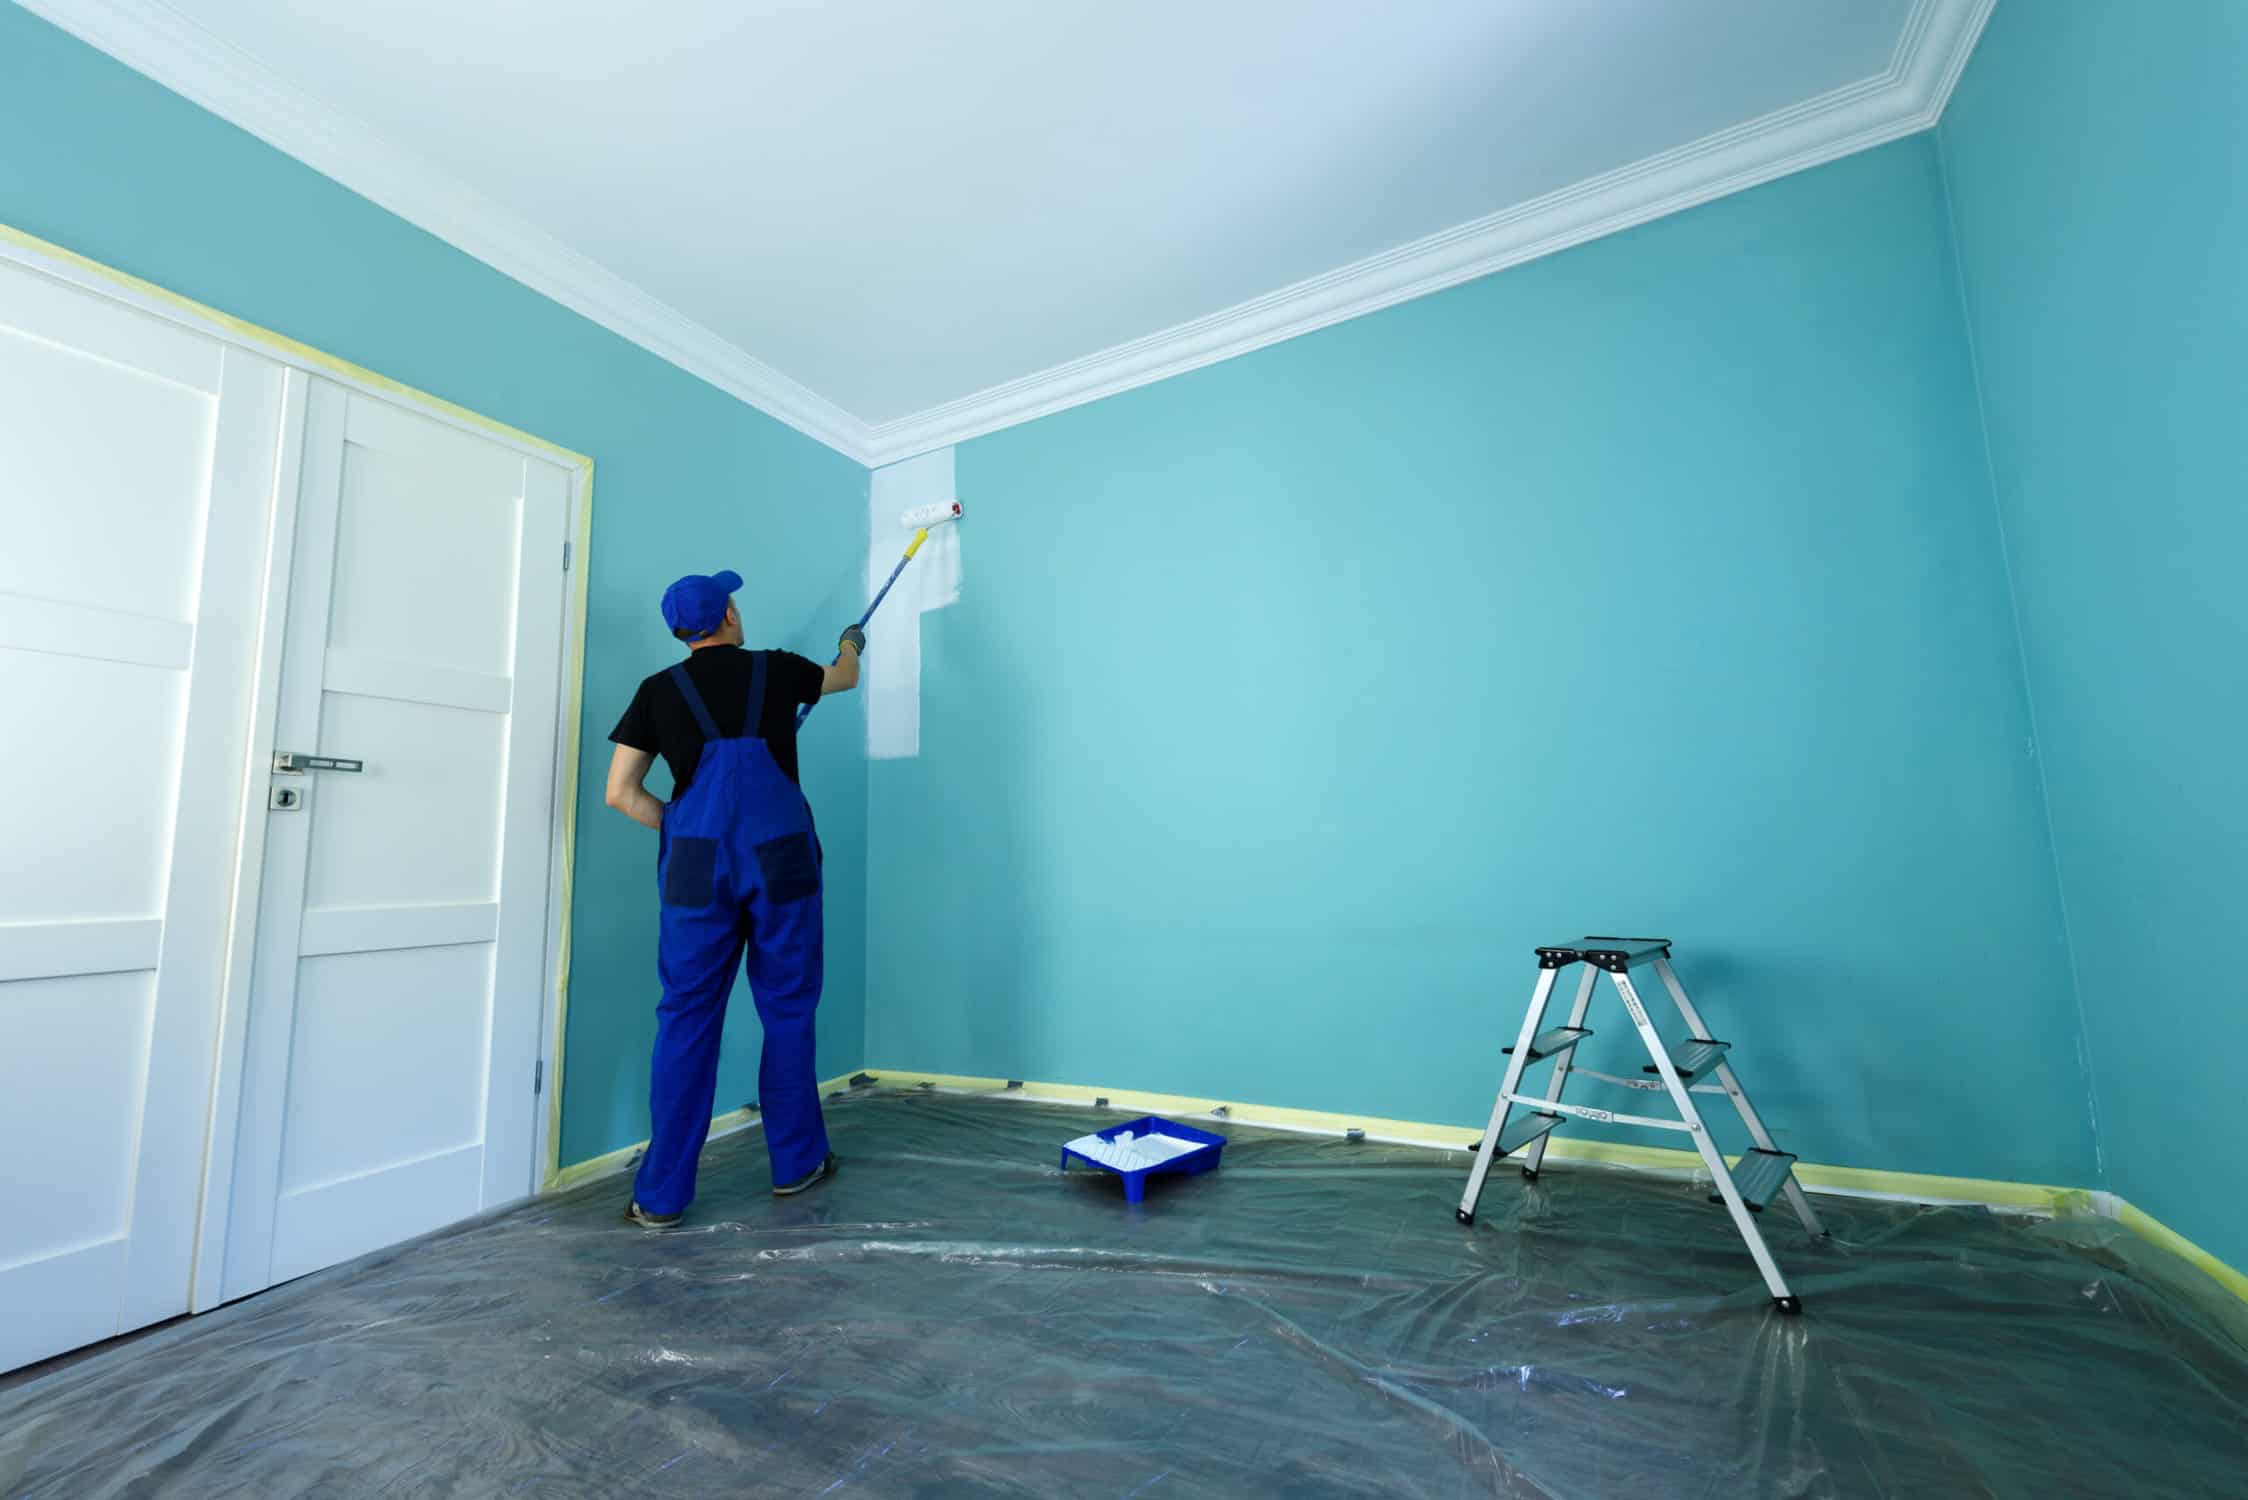
4. Applying Paint Too Thickly
Applying paint too heavily can trap moisture inside, resulting in a rubbery texture and a frustratingly slow drying process. Instead of slathering on thick coats, it’s best to apply multiple thin layers to allow for proper drying.
Using a sprayer or a high-quality brush, such as those from Purdy or Wooster, helps achieve a smoother, more even finish. Patience is also key—always follow the manufacturer’s recommended drying times before adding another coat to prevent tackiness and ensure a durable, long-lasting result.
How to Fix Tacky Paint Fast
If the damage is already done and your paint won’t dry properly, here’s how to speed up the process and restore the finish.
1. Increase Airflow & Ventilation
One of the simplest ways to fix tacky paint is to get the air moving. Turning on ceiling fans or portable fans near the painted surface can help speed up evaporation and reduce stickiness. Opening windows allows fresh air to circulate while pushing moisture out, creating a better drying environment.
If possible, moving small furniture outdoors for sun exposure can further accelerate the process, helping the paint cure properly and preventing it from staying sticky for too long.
2. Apply Heat (But Carefully!)
Heat can help evaporate trapped moisture in sticky paint, but it must be used with caution. A hairdryer on low heat can speed up drying, but it’s important to keep it moving to prevent overheating or damaging the paint.
If you’re dealing with painted furniture or doors, placing them in direct sunlight can help the paint cure faster—just be mindful not to overdo it, as excessive heat may cause cracking. However, avoid using heat guns on latex paint, as they can blister the finish and create an uneven texture.
3. Use a Hardener or Drying Agent
If latex paint remains tacky after 48 hours, there are a few tricks to help speed up the drying process. Lightly dusting the surface with cornstarch or talcum powder can absorb excess moisture and reduce stickiness.
For oil-based paint, adding a small amount of Japan Drier can accelerate the curing time, but it should be used carefully to avoid over-drying or discoloration. If the paint is still sticky after several days, applying a clear water-based polyurethane can help seal the surface and eliminate the tacky texture.
4. Wait It Out
Sometimes, the only solution for tacky paint is patience. Oil-based paints can take up to seven days to fully cure, and humid conditions can slow the drying process even further, requiring extra time.
To prevent damage or imprints, it’s best to avoid heavy use of cabinets or furniture until the paint has completely hardened.
Long-Term Solutions to Prevent Tacky Paint
If you never want to deal with tacky paint again, follow these pro tips before your next project.
1. Choose the Right Paint for the Job

For cabinets:
- Benjamin Moore Advance – Hardens to a durable, furniture-like finish.
- Sherwin-Williams Emerald Urethane – Great for trim and doors.
For furniture:
- General Finishes Milk Paint – Seals well and resists tackiness.
- Lacquer-based paints – Provide a factory-like hardness.
2. Always Use a Bonding Primer
For slick, high-gloss, or previously painted surfaces, the right primer can make all the difference in preventing tacky paint. Zinsser BIN Shellac-Based Primer is an excellent choice for laminate and glossy finishes, ensuring strong adhesion and a smooth, durable topcoat.
For particularly tricky surfaces, Stix Bonding Primer provides a reliable grip, helping paint adhere properly and dry without lingering stickiness.
3. Apply Paint in Thin, Even Layers
Avoid applying thick, heavy coats of paint—this is the number one mistake DIYers make and a common cause of tacky paint. Instead, use a sprayer for cabinets and furniture to achieve a smooth, even finish without excess buildup. Be patient and allow at least 2-4 hours between coats, or even longer in humid conditions, to ensure proper drying and prevent a sticky surface.
4. Follow Manufacturer Drying & Curing Times
Drying time refers to when paint feels dry to the touch, but that doesn’t mean it’s fully ready for use. Curing time, on the other hand, is when the paint has completely hardened, which can take anywhere from 7 to 30 days. To avoid issues like tacky paint or surface damage, be patient—cabinets and furniture should be given at least a few days before resuming regular use.
5. Seal with a Protective Topcoat
If using latex paint, seal it with:
- Minwax Polycrylic – Clear, non-yellowing protection.
- General Finishes High Performance Topcoat – Ideal for furniture and cabinets.
When to Call a Professional
If you’ve tried everything and your paint is still tacky, it might be time to call in a professional. If the paint remains sticky for over a week despite proper ventilation, or if you notice visible brush marks, drips, or peeling after multiple drying attempts, the issue may require expert intervention. This is especially true for cabinets or furniture that need a flawless, factory-like finish.
A professional painter can resolve these problems using commercial-grade primers, high-end spray equipment, and advanced drying techniques to ensure a smooth, durable result.
Need a Professional Fix? Elite NJ Painting Can Help!
At Elite NJ Painting, we’ve rescued countless homeowners from tacky paint disasters. Our professional techniques, high-quality products, and expert prep work ensure a durable, flawless finish every time.
If you’re tired of sticky surfaces and DIY frustrations, reach out today for a free consultation!

